Interior Scene Transitions in Unity
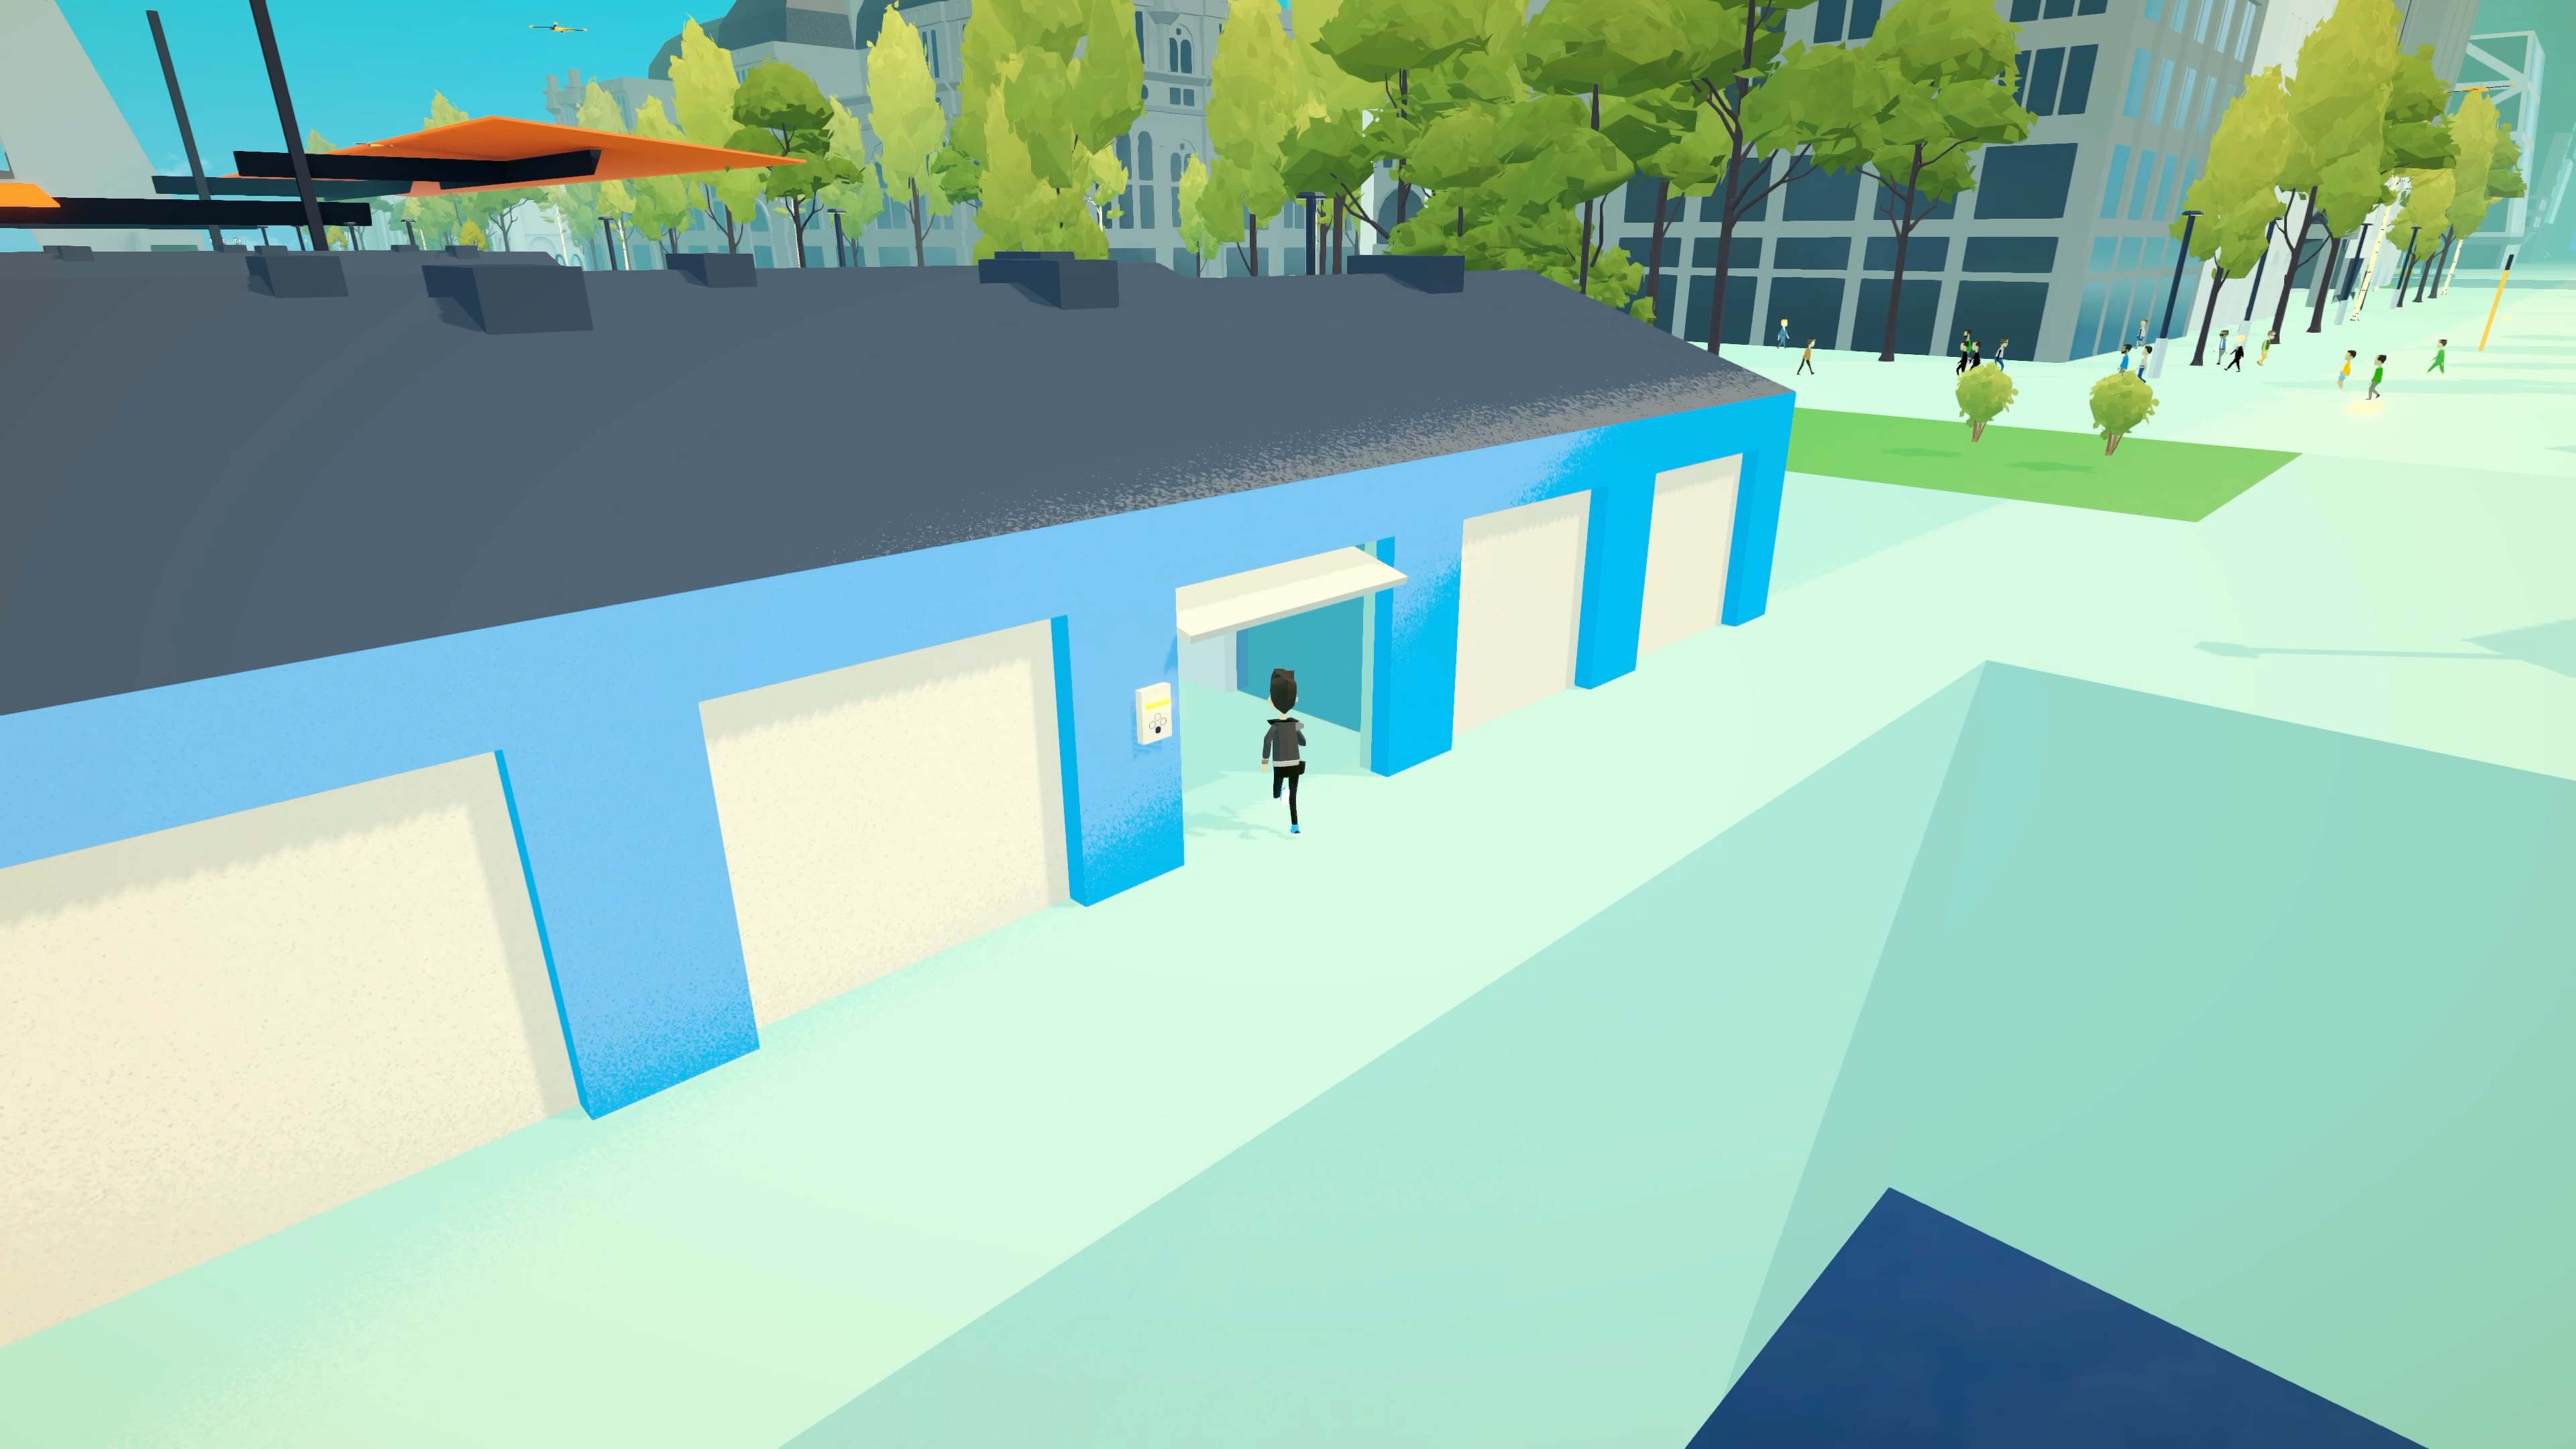
Novantica is set in an open world environment with various interior scenes that asynchronously load in when the player is nearby. When I started developing the game, I was originally planning to use a top-down third-person perspective, like many of my favorite old adventure games. Because it was set in an urban environment, I also wanted the player to be able to look up towards the sky and get a sense of the urban architecture. I tried a few different approaches to shifting the camera based on how the player was moving, but never quite achieved what I'd hoped to. Eventually I decide to make the camera work like many third-person perspective games and allow the user to move the camera using the right stick on a controller.
This approach worked really well for the open outdoor areas, but made the interior scenes feel cramped and awkward. Many other games just leave things to the player to figure out, but I've never really liked how games did that. I can't tell you how many times I would stop in the middle of a cave in Tears of the Kingdom just to look around and try to understand where, exactly, Link was in relation to the cave. This free camera movement also made some of the puzzle mechanics in the Novantica awkward – e.g. making it difficult to see where a box needed to be pushed.
Then, I had an idea I wanted to test out...
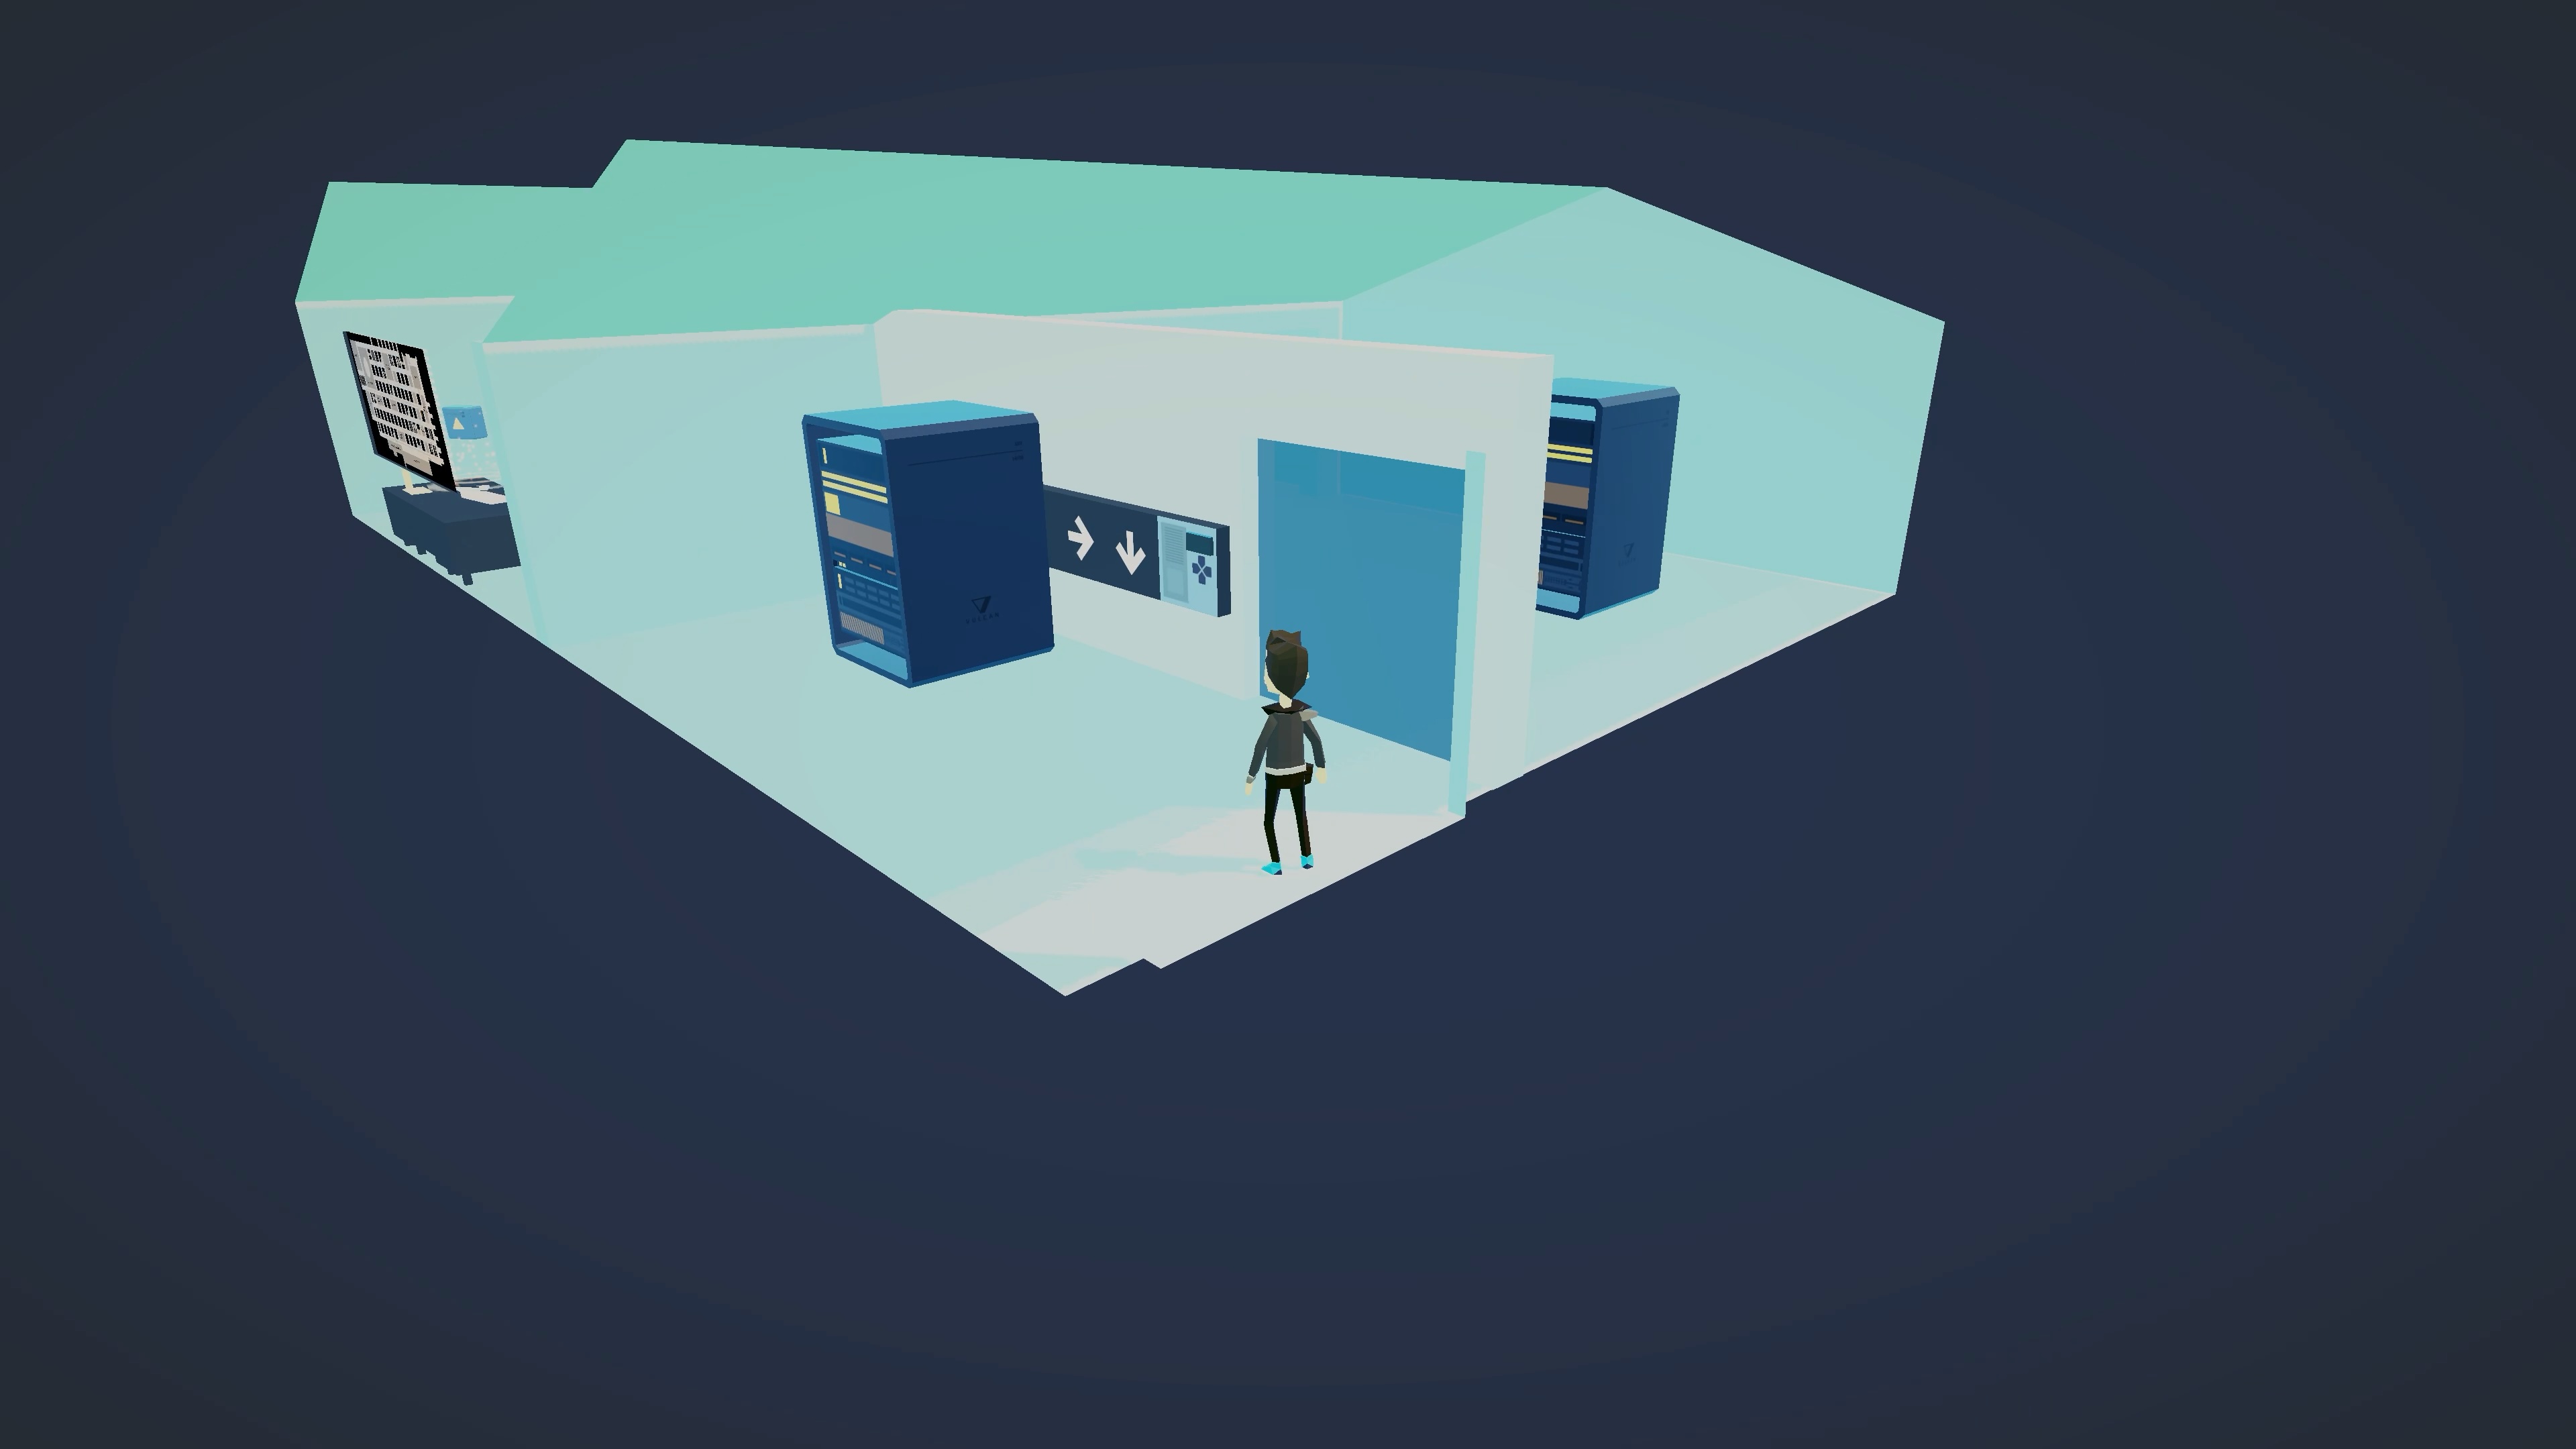
In the video above, I tested out a simple way to make the world fade away and draw focus on the interior scene when entering. This felt like it gave the puzzles in these scenes a bit more breathing room and allows the player to position the camera in a top-down way without feeling claustrophobic. I really liked the general effect, but the implementation needed some work.
This first version uses a URP Camera Stack with the culling mask rendering the Interior layer, along with some of the other mechanic-related layers. The world is faded out using Post Exposure in Post Processing's Color Adjustments, and the interior camera is enabled. This made it so that the background color had to be black (or a dimmed world) and so that the interior would suddenly pop into view without a smooth transition.
To be able to cross-fade between the two, I decided to use a RenderTexture to render the interior camera (with the interior-specific layers) and add that RenderTexture to a RawImage component that the main camera could render. By controlling the alpha channel of the RawImage component, the interior scene could be faded in and out over top of the main camera's view. This also gave me control of the background color used when showing this isolated interior view. I could render any solid background color or even be transparent to allow other objects to cover up the main camera's view.
I tried using a blur effect on the view from the main camera as a background, which looked kind of cool, but felt disorienting and distracting when moving the camera around. So, I decided to stick with a solid color.
Most of the logic needed for this effect is handled by a single script attached to the new interior camera. This script uses a reference to the interior camera itself, a RenderTexture for the output of this camera, and a RawImage that will display the RenderTexture. I use LeanTween for the transition and expose the duration and timing functions for customization. I also have a boolean for detecting whether the interior view is active or not.
using UnityEngine;
using UnityEngine.UI;

public class InteriorCamera : MonoBehaviour {
  public Camera cam; // Interior layer w/ culling
  public RenderTexture texture;
  public RawImage output; // UI layer + UI Camera Stack
  public float duration = 0.5f;
  public LeanTweenType easeIn = LeanTweenType.easeInCubic;
  public LeanTweenType easeOut = LeanTweenType.easeOutCubic;

  [Header("State")]
  public bool active = false;
}
For the method to fade into the isolated interior view, I check whether the isolated view is already active and return early if needed.
The interior camera and RawImage are both enabled, then I use LeanTween.value to pass a float to the UpdateFade method.
The UpdateFade method changes the alpha value of a private color field.
If I decide to transition something else in addition to the RawImage, it can be handled in UpdateFade.
  Color color = Color.white;

  public void FadeIn () {
    if (active) return;
    cam.enabled = true;
    output.enabled = true;
    LeanTween.value(gameObject, UpdateFade, 0f, 1f, duration)
      .setEase(easeIn)
      .setOnComplete(() => {
        Debug.Log($"[InteriorCamera] FadeIn");
      });
    active = true;
  }

  void UpdateFade (float n) {
    color.a = n;
    output.color = color;
  }
For the method to fade out, it's the same thing in reverse, but I make use of LeanTween's setOnComplete method to disable the camera and RawImage after the transition is complete.
  public void FadeOut () {
    if (!active) return;
    LeanTween.value(gameObject, UpdateFade, 1f, 0f, duration)
      .setEase(easeOut)
      .setOnComplete(() => {
        Debug.Log($"[InteriorCamera] FadeOut");
        cam.enabled = false;
        output.enabled = false;
      });
    active = false;
  }
You can see what this looks like in the screenshots below.
Because Novantica supports multiple resolutions, this effect doesn't work when the resolution of the game isn't 4K.
To handle different resolutions and changing the resolution while playing, I added a method to set the RenderTexture to match the main camera resolution and use LateUpdate to check when it has changed.
  float aspect = 1f;
  int width = 3840;
  int height = 2160;

  void Start () {
    Init();
  }

  void Init () {
    aspect = Camera.main.aspect;
    width = Camera.main.pixelWidth;
    height = Camera.main.pixelHeight;
    texture = new RenderTexture(width, height, 32);
    cam.targetTexture = texture;
    output.texture = texture;
  }

  void LateUpdate () {
    if (!active) return;
    if (Camera.main.aspect != aspect || Camera.main.pixelWidth != width) {
      Init();
    }
  }
To use this script, I have an InteriorTrigger script that uses trigger colliders to detect when the player is inside a building.
I use a singleton pattern in this InteriorCamera script to allow the trigger components to enable and disable the interior camera across different scenes (each interior is a separate Addressable scene in the game).
You can use whatever makes sense for your game's architecture to enable and disable the interior camera, but the singleton setup looks something like this:
  public static InteriorCamera instance;

  void Awake () {
    if (instance == null) instance = this;
    else Destroy(this.gameObject);
  }
The end result:
If you'd like to set up something similar in your project, here is the full source code for the component: